Sunday, April 1, 2012

april scrappy chic stuff!

yep. april, already... how can this be? and it's snowing here, so mother nature is getting her april fool's joke in on us here in alaska. argh. well, i've got scrapping with awesome supplies to keep me happy - thanks again, melinda at scrappy chics, for sending me the amazing add-on kit for april! LOVELOVELOVE the colors here, and all the paper is double sided - another perk...

my niece and nephew have birthdays in march so i deconstructed a starbucks gift card holder i got at christmastime and used it as a template to make gift card holders for them... i really like how they turned out, and i will definitely use this idea again!


for the following layout, i was being ultra thrifty. you know the strips on the bottom of your paper that tell you what line it is, and what pattern is on the other side? well, i cut those off and used them for a hint of color on this layout. a sketch i found on pinterest is the inspiration for this one...


the next one is based off a sketch from valerie salmon. little design hint: i cut tiny bits of scrap paper and stuck them on the bottoms of the little banner flags, so they look like they're flapping in the wind. :)


okay, the middle photo cracks me up every time i look at it. the girl in the background is one of my nieces, trying to get a jump on her cousin's birthday candles! i like how the black cardstock makes all the bright colors jump out...


and last, another card for one of the people at my work... i heard later the recipient was very touched to find a handmade card on her special day. makes it worth it, to know people appreciate handmade stuffs.


that's all for now. thanks for checking it out this month! <3

Saturday, March 3, 2012

march 2012 scrappy chics

this month, melinda from scrappy chics sent me the main kit. the colors were perfect for scrapping my hawaii pictures...

live in the sunshine this first layout features photos of my daughter exploring the shores of maui. that's always been a favorite activity of ours...


drive we joked that tons of tourists got divorced after this drive - it was a one lane road for about 10 miles on maui's west coast, and at times it got kind of tense. we saw more than one rental car with the husband holding on to the steering wheel for dear life and the wife yelling at the husband... my hubby's pretty good at driving in these conditions, though, so we were fine - no divorce here! sam got a little nervous, though - she noticed all the wooden crosses lining the twists and turns on the road.


always will we've been together over 25 years now - i think this layout says it all...


we've now come to the card portion of my blog post... here's some cards i made for people at work.


(the second one is my favorite!)


that's all for now - i have done a couple more hawaii layouts at a crop i went to last weekend, but they're still in my (still not unpacked) rolling scrappy case... i'll post if i get around to unpacking!


thanks for looking!

Monday, February 20, 2012

gift card phone stand

Phone Stand made from Recycled Gift Card

In this tutorial, I will show you how to take an old gift card and turn it into something fun and useful. This isn’t my idea – I found a photo someone else had posted online, but I cannot remember where I found it… It is my idea, however, to use the larger gift cards rather than the smaller, regular sized cards. There’s just more room to let your inner creative genius out!


First, make sure your card has no value left on it. You never know, someone might just be so excited to craft, they might forget & use one that still has money on it! I so could see myself doing that… Then, bend your card into shape. I used a metal ruler to help me with that. You only need a little bit of a lip to hold your phone, so bend that first, then halfway between the little lip & the other end, bend the opposite direction. You should end up with a shape like the ones pictured above.

Next, lightly sand all sides. It helps the mod podge stick better. I actually think sanding FIRST, then bending might work better, but sometimes I tend to do things backwards. If any of you decide to do the sanding first, let me know how it turns out! Another helpful little hint is to do your sanding over a damp paper towel, then use that to wipe the card when you’re finished.


Now, cut two pieces of paper slightly larger than your card. Leave yourself ¼” or so of room on all sides, so you can have some wiggle room when you’re gluing the paper down. It’s a bit easier to mold the paper to the card BEFORE mod podging, so you know which piece goes where.


Use mod podge to glue your papers down. I used matte, but you could use glossy or even sparkly! Once dry (give yourself an hour or so), trim close to the edges with scissors. Then you can sand the edges to remove any excess paper.


Decorate as desired. I used rub ons and coordinating papers.


To ensure it lasts a while, add a coat or two of mod podge once you’ve decorated the stand. As a finishing touch, I added a bit of sparkle…


Let dry completely for a day, then start using (or gifting, as I did here) your stand!


Thanks for looking, and happy crafting!

Saturday, February 11, 2012

february 2012 scrappy chics stuffs!

january was a CRAZY busy month for me. we took a family vacation to maui - it was lovely and warm and sunny... here at home, the temps were hitting -30ยบ but while we were in hawaii, it was in the mid 80's. when we got back to anchorage (late at night), we took the shuttle to the parking lot where we left our truck. it was frozen solid - we had to get the battery jump-started. brr. the next morning, i realized my camera case was nowhere to be found. i was immediately in tears. my husband had faith the camera would turn up, though. thank goodness someone was being positive. usually that someone is me, but i was too distraught over losing my camera. i called the airline, the airport in anchorage, the parking lot in anchorage, the airport in maui and finally the rental car agency in maui... yep. i'd left it in the car. whew!

anyway, long story short - the pictures for this month's kit are not great - i took the photos with my phone. :) AND i did my projects after we got back from vacation!


please, go to scrappy chics and sign up to get your kits! melinda has the most incredible variety - i'm ALWAYS excited to open my melinda mail!

here's what i did:

smile kind of a shabby chic thing going on here


she is 42 ugh. really? how the heck did that happen?! lol


beautiful reasons i found this little doohickey at the thrift store for 50 cents. i knew i could use it for something. the photos are held in by ribbon strips - so i can change out the pictures and put up new ones!


here's the "before" of the tray. i guess it's a tray.
thanks for looking - what a crazy month! hope your new year started out stress free...

Sunday, January 1, 2012

january 2012 scrappy chics stuff...

this month, scrappy chics teamed up with sketchy thursdays! exciting stuff for me, since i'm already a HUGE fan of sketches, and i loooooove sketchy thursdays' stuff... here's the sketch!

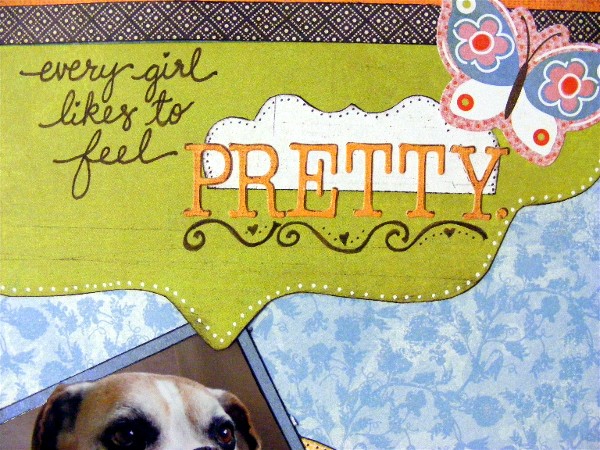
i kept pretty close to the sketch, because i felt it would highlight the photo perfectly. we had to put our dog down in december, and this sketch was perfect for my photo and the quote.


for this layout, i used a sketch from pagemaps. happy is what i try to be, whenever i can!


i actually scrapped and didn't use a sketch for this layout! shocking... :)


instead of cards this month, i made this necklace hanger for my daughter.


that's it for this month's kit. thanks for looking, and hope everyone had a wonderful holiday season and a great start to the new year!